


Amazing Flash to WMV Converter is a professional converter for Flash swf to WMV conversion.
1 Install and register Amazing Flash to WMV Converter
Download Amazing Flash to WMV Converter file, extract to flash_to_wmv_converter\, then double click the downloaded installation file from flash_to_wmv_converter\ to start installation; next, follow the instructions to finish the installation.
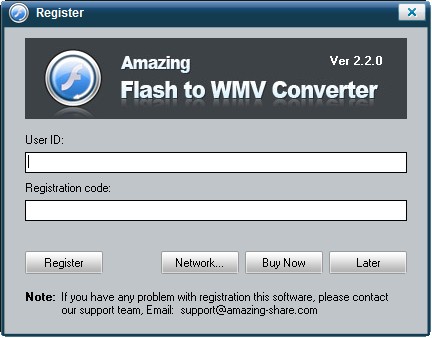
After installation, please launch Amazing Flash to WMV Converter, then enter correct User Name and registration key in pop-up registration window, then click "Register" button to finish registration.
2 Load Flash swf files
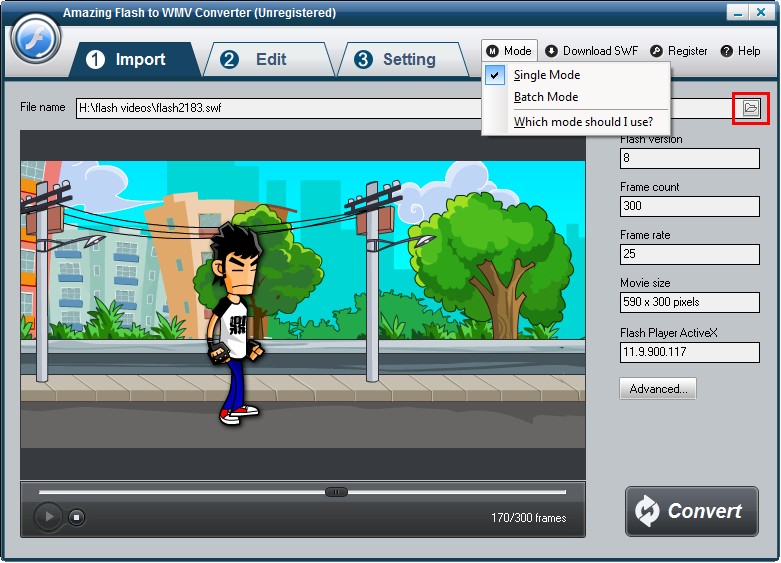
On "Import" interface, hit browser image button to add swf file.
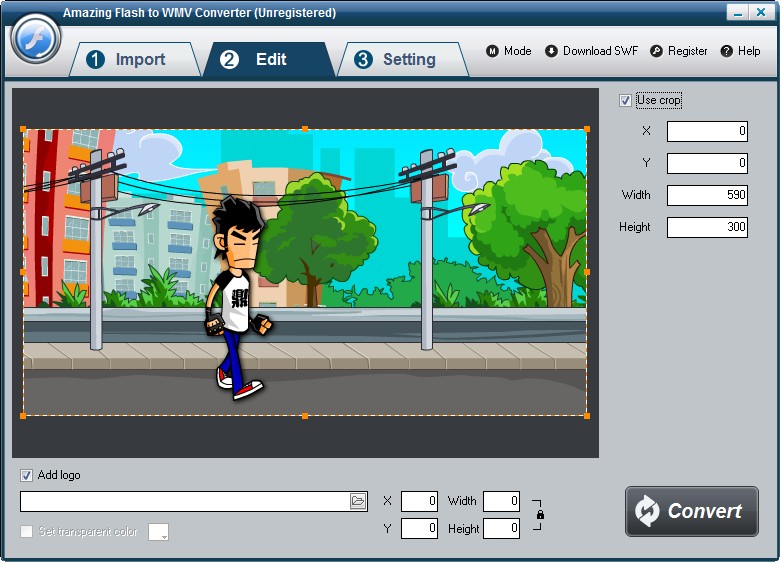
3 Edit flash movie (Optional)
On "Edit" interface, you can crop the flash movie and add watermark, logo, copyright image onto the created video to mark them as your own. If you would not like to edit your video, simple skip it to "Setting" page.
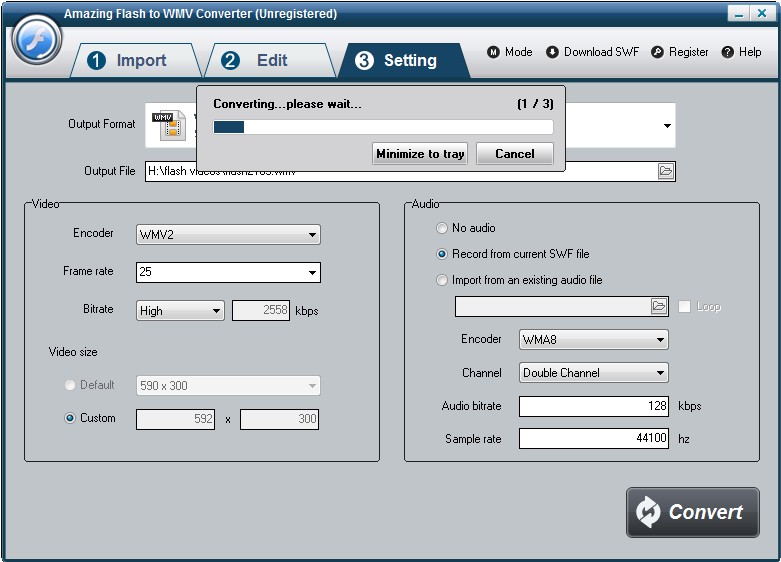
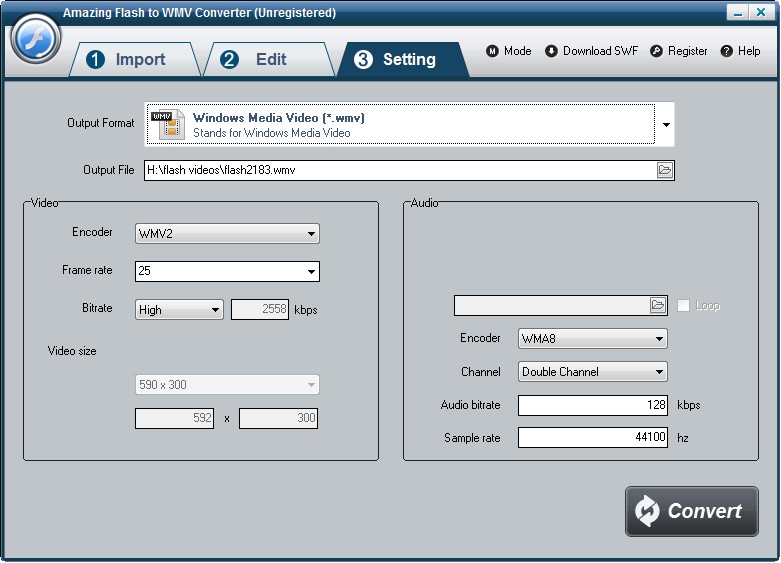
4 Set output formats and destination's location
On "Setting" interface, select WMV as output formats from the drop-down list of "Video Format ". Then select destination folder for converted avi file and you can set the video encoder, frame rate, audio channels, bitrates etc.
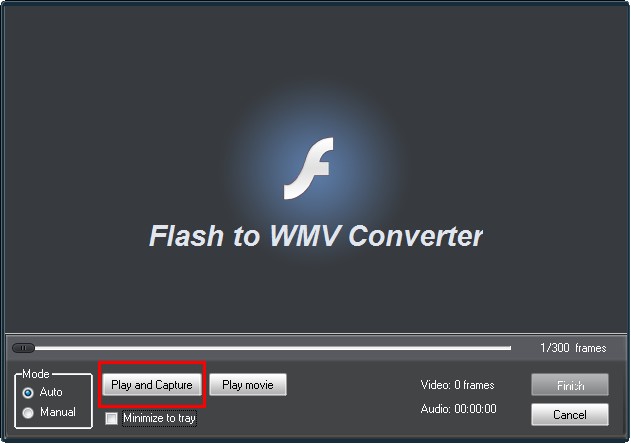
5 Start the Flash to WMV video conversion
Once you've finished all the settings, hit the "Convert" button, Capture window will be show as below,select a mode: "Auto" or "Manual". Manual Mode is useful for interactive swf file, otherwise you can choose Auto Mode. Click "Play and Capture" button to begin. During conversion, you can minimize the program to system tray.